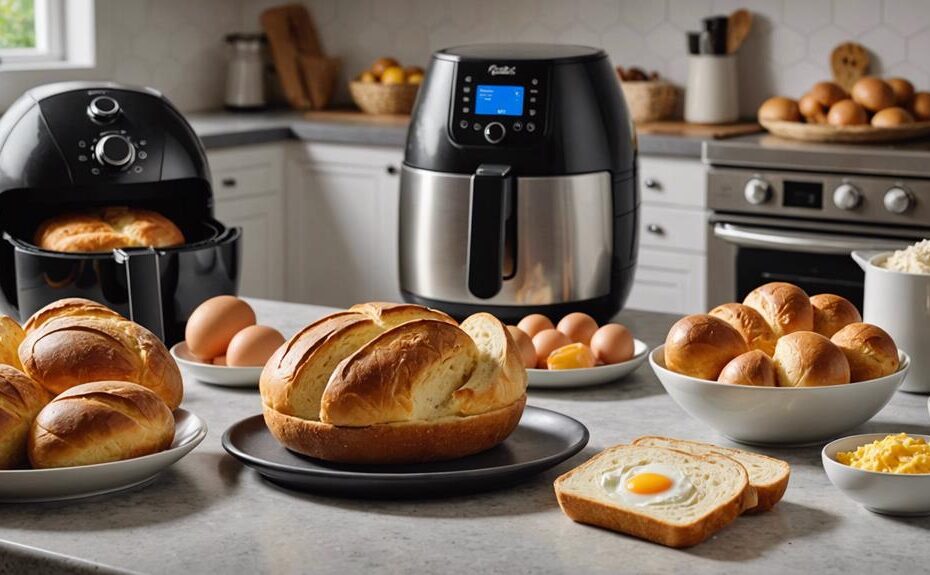
To make bread in an air fryer, mix 3 cups of bread flour, 2 teaspoons of rapid rise yeast, and 1.5 teaspoons of salt. Gradually add 1.25 cups of lukewarm water, forming a smooth dough. Knead well, then let it rise for 1 hour in a warm spot. Preheat your air fryer to 400°F. Shape the dough into a round loaf and place it on parchment paper in the air fryer basket. Bake until the bread reaches an internal temperature of 190°F. Cool on a rack before slicing. With these steps, you'll create perfectly baked bread with ease. Discover more nuances by continuing further.
Key Takeaways
- Mix bread flour, rapid rise yeast, and salt, then gradually add lukewarm water to form a smooth, elastic dough.
- Let the dough rise in a warm environment for 1 hour, covered, to allow proper fermentation and gluten development.
- Preheat the air fryer to 400°F and line the basket or pan with parchment paper to prevent sticking.
- Shape the dough into a round loaf and place it upside down in the preheated pan for even baking and crust formation.
- Bake the bread until it reaches an internal temperature of 190°F, then cool on a rack before slicing with a serrated knife.
Ingredients Needed
To make bread in an air fryer, you'll need basic ingredients such as bread flour, rapid rise yeast, salt, water, and optionally, a small amount of sugar or honey. Bread flour is highly recommended because its higher protein content promotes better gluten development, resulting in a chewier and more structured loaf. However, you can use all-purpose flour if bread flour is unavailable.
The choice of yeast is important; rapid rise yeast is preferred for air fryer bread as it speeds up the rising process, making it ideal for the shorter baking times associated with air fryers. This type of yeast gets to work quickly, ensuring your dough will rise adequately even with limited proofing time.
Salt plays an essential role in flavoring the bread and controlling yeast activity, ensuring a steady rise. Water is necessary to hydrate the flour and activate the yeast, creating a cohesive dough. Lastly, adding a small amount of sugar or honey isn't mandatory but can greatly enhance yeast activation and impart a subtle sweetness to the bread. This slight sweetness can balance the savory notes and create a well-rounded flavor profile.
Preparing the Dough
Begin by mixing the bread flour, rapid rise yeast, and salt in a large bowl to guarantee even distribution of ingredients. Once your dry components are thoroughly combined, gradually add lukewarm water. Stir the mixture until it starts to come together and form a shaggy dough. It's vital to make sure the water is not too hot, as this can kill the yeast, preventing your bread from rising properly.
Next, transfer the dough to a lightly floured surface. Knead it for about 8-10 minutes until it becomes smooth and elastic. This step is important to develop the gluten structure, which will give your bread the right texture. If the dough feels too sticky, sprinkle a bit more flour, but avoid adding too much, as this can make the bread dense.
For added flavor and moisture, consider incorporating a tablespoon of olive oil or melted butter into the dough during mixing. Once kneaded, shape the dough into your desired form, whether it's a loaf or rolls. Ensure the dough is evenly shaped to facilitate uniform cooking in the air fryer.
Use parchment paper or lightly oil the air fryer basket to prevent sticking. Your dough is now ready for the next stage.
Allowing the Dough to Rise
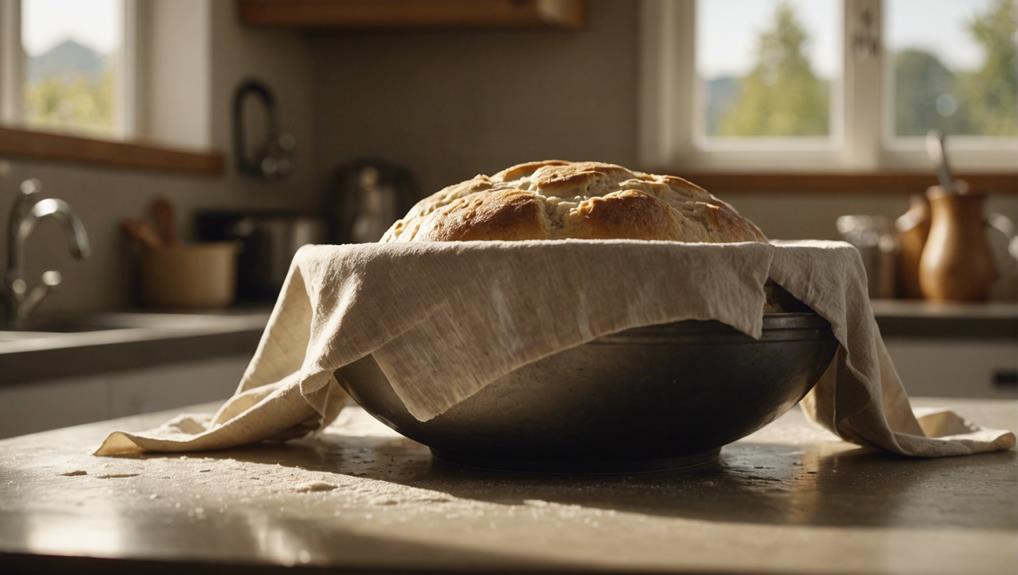
After shaping your dough, let it rise for about 1 hour in a warm, draft-free environment to allow the yeast to ferment and the dough to expand properly. This step is essential for achieving the right texture and flavor in your bread. The yeast consumes sugars in the dough and produces carbon dioxide, which gets trapped within the gluten network, causing the dough to rise.
To guarantee proper dough rise, place your dough in a bowl, cover it with a damp cloth or plastic wrap, and set it in a warm area. The ideal temperature for this is around 75-80°F (24-27°C). If your kitchen is too cool, you can place the bowl in a slightly warmed oven (just turned off) or near a warm appliance.
Proper fermentation during this hour is crucial not only for the dough's expansion but also for gluten development. The gluten strands strengthen and stretch, allowing the dough to hold its shape and achieve a light, airy structure once baked. Don't rush this step; giving the dough enough time to rise will result in a more flavorful and well-textured bread.
Preheating the Air Fryer
Ensuring your air fryer reaches the right temperature, typically around 400°F, is vital for achieving an evenly baked loaf of bread. Preheating the air fryer guarantees that the oven cavity is uniformly hot, which helps your bread dough bake consistently from the moment it enters. To preheat the air fryer, set it to the desired temperature and allow it to run for a few minutes. This step is essential as it prepares the environment for the dough, minimizing the risk of uneven baking.
Additionally, some recipes recommend preheating the baking pan. This can be especially useful if you're aiming for a crispier crust. Simply place the empty pan inside the air fryer while it preheats. By preheating both the air fryer and the pan, you create a more stable baking environment that promotes even heat distribution.
Shaping the Dough
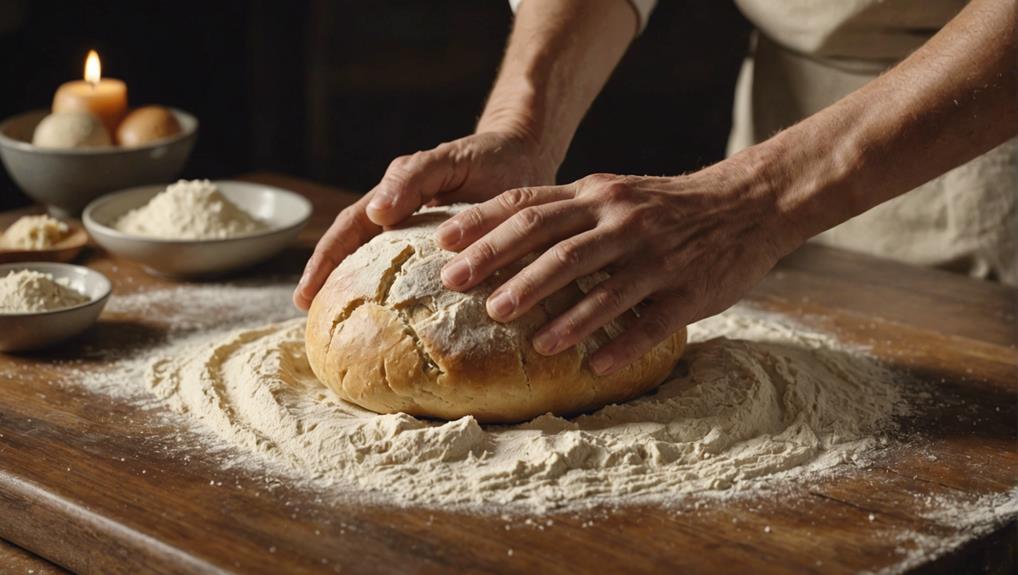
Shaping the dough meticulously is vital for achieving a well-formed and evenly baked loaf in your air fryer. Start by placing the dough on a lightly floured surface. Gently pull the edges towards the middle to create a round loaf, ensuring that the surface remains smooth. This technique helps maintain an even structure, promoting uniform baking.
Next, prepare your pan. Choose a round pan with a diameter between 6 to 8 inches, which fits comfortably in your air fryer. Cut a piece of parchment paper to line the pan, making sure it comes up the sides but doesn't extend over the top. This will prevent the dough from sticking and make it easier to remove the bread once baked.
After shaping the dough, turn the loaf upside down in the pan so the smooth side is on top. This step not only enhances the bread's presentation but also contributes to an even crust formation. Proper shaping and pan preparation are essential, as they ensure the dough rises uniformly, resulting in a beautifully formed loaf that bakes evenly in your air fryer. Avoid rushing this process to achieve the best possible outcome.
Baking the Bread
Once your dough is perfectly shaped and placed in the pan, preheat your air fryer to 400°F to prepare for baking. This guarantees the air fryer reaches the ideal temperature for an even bake. Line the basket or pan with parchment paper to prevent sticking, making sure the dough is centered and there's enough space around it for proper air circulation.
Set your air fryer to the recommended baking time, typically around 20-25 minutes for most bread recipes. However, adjust based on your specific air fryer model, as cooking times can vary. It's important to check the bread halfway through the baking process. Carefully flip the bread to promote even browning and ensure it's cooking uniformly on all sides.
Keep an eye on the dough as it bakes, and use a thermometer to check for doneness—your bread should reach an internal temperature of about 190°F. If the top browns too quickly, tent it with foil to prevent over-browning. Following these steps guarantees your bread will bake to perfection in your air fryer.
Cooling and Slicing
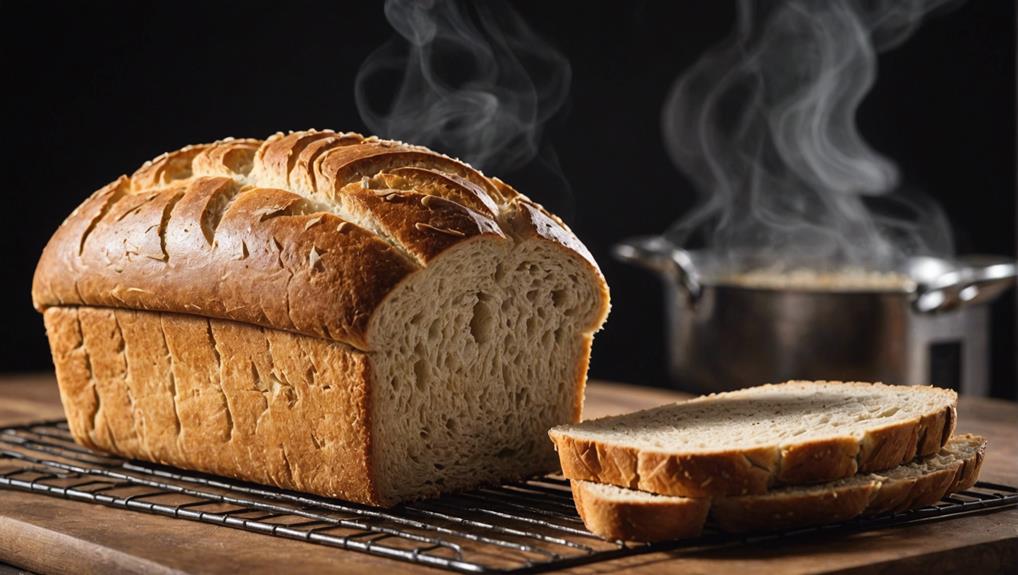
After baking, place the bread on a cooling rack immediately to allow for even air circulation and prevent sogginess. This step is vital because it guarantees that the bread maintains its best texture. Letting the bread cool thoroughly helps it set properly and avoid becoming overly moist, which can compromise both flavor and structure.
Once your bread has cooled completely, it's time to move on to slicing. Use a serrated knife for this task; it's the best tool to achieve clean, even cuts. Slicing the bread while it's still warm can result in squished or torn slices, which you definitely want to avoid. Patience is key here—let the bread cool to room temperature before you start slicing.
When you do slice, aim for your desired thickness, whether it's thick for hearty sandwiches or thin for delicate toast. Proper cooling and slicing not only enhance the bread's texture but also make for an aesthetically pleasing presentation. Now, you're ready to enjoy your freshly baked air fryer bread. Pair your slices with your favorite toppings or spreads, and savor the fruits of your labor.
Frequently Asked Questions
How to Bread in an Airfryer?
Guarantee proper dough consistency by using an effective kneading technique. After kneading, let the dough rise for the appropriate proofing time. Preheat the air fryer, and adjust cooking times based on your air fryer model.
Can You Bake in an Air Fryer?
Sure, you can bake in an air fryer! First, activate your yeast like a medieval alchemist. Then, prepare the dough. Adjust the baking temperature and flip halfway for even cooking. Experiment with recipes for the best results.
What Is the Best Air Fryer for Baking Bread?
When selecting the top air fryer for baking bread, prioritize capacity options around 5-6 quarts, precise temperature control, and positive user reviews. These features guarantee even baking, easy removal, and satisfactory results.
How Do You Bake Like an Air Fryer?
Imagine your kitchen as a symphony hall. To bake like an air fryer, proof your yeast until it sings, mix the bread dough with precision, and use expert techniques to achieve perfect browning and texture.
Conclusion
You've just baked bread in an air fryer, a modern twist on an age-old tradition. Did you know that the average loaf of homemade bread weighs about 1.5 pounds? Imagine that, all perfectly golden and crusty, emerging from your air fryer. By mastering this method, you've harnessed a unique blend of technology and culinary skill. Enjoy your fresh, warm bread—each slice a proof of your newfound expertise in air frying!
Disclosure: As an Amazon Associate, I earn from qualifying purchases.
