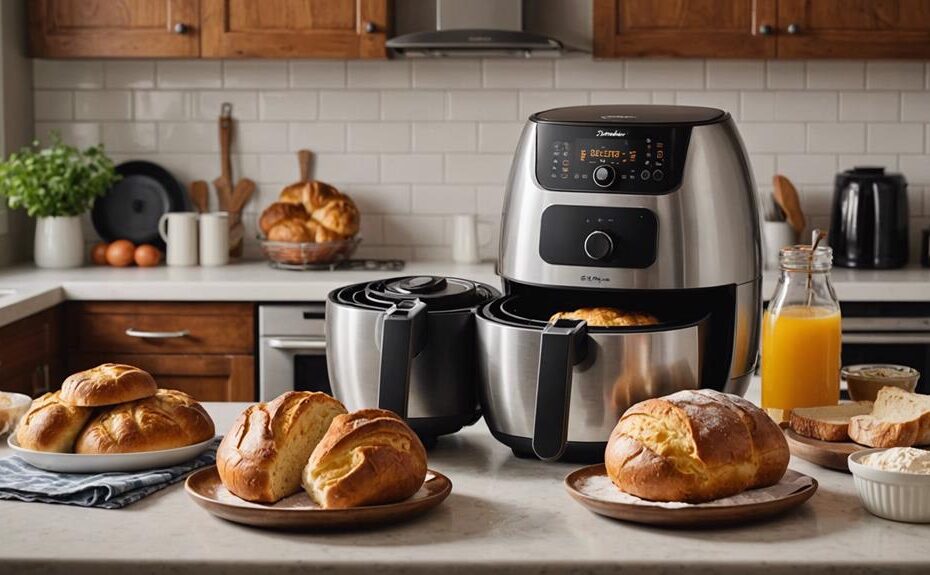
To make a loaf of bread in an air fryer, start by mixing bread flour, rapid-rise yeast, sugar, and salt. Slowly add warm water and incorporate melted butter until a sticky dough forms. Let it rise in a warm place until air bubbles appear. Preheat your air fryer to 350°F. Shape the dough into a smooth ball and score the top. Bake at 350°F, brushing with egg wash for a golden crust. Check that the internal temperature reaches 190-200°F. Cool completely on a wire rack for best texture. Curious about enhancing the process or perfecting your technique?
Key Takeaways
- Combine bread flour, rapid rise yeast, sugar, and salt; add warm water and melted butter to form a sticky dough.
- Let the dough rise in a warm, draft-free location until it has doubled in size.
- Shape the dough into a smooth ball, score the top, and preheat the air fryer to 350°F.
- Brush the dough with egg wash, place it in the preheated air fryer, and bake at 350°F until golden brown.
- Check for doneness by tapping for a hollow sound and ensuring an internal temperature of 190-200°F.
Ingredients
To make bread in an air fryer, you'll need key ingredients like bread flour, rapid rise yeast, sugar or honey, salt, and water. Start with bread flour, which is preferred due to its higher protein content. This protein enhances gluten formation, resulting in a superior rise and improved texture for your loaf. Rapid rise yeast is essential for expediting the proofing process, ensuring your dough rises quickly and efficiently.
You'll also need sugar or honey, not just for sweetness, but to feed the yeast, promoting its activity. The sugar acts as a catalyst, accelerating yeast fermentation. Salt is another essential component. It not only seasons the bread, enhancing its flavor, but it also regulates yeast activity, preventing over-proofing and ensuring a consistent rise.
Water plays a pivotal role by hydrating the flour and activating the yeast. The right water temperature, typically lukewarm, ensures ideal yeast activity without the risk of killing the yeast. When these ingredients are combined properly, they create a well-developed dough, resulting in a delicious homemade loaf of bread utilizing the efficiency and convenience of your air fryer.
Preparing the Dough
Begin by combining the bread flour, rapid rise yeast, sugar or honey, and salt in a large mixing bowl. Thoroughly mix these dry ingredients to guarantee even distribution of the yeast and salt, which is essential for proper fermentation and flavor development. Slowly add warm water, around 110°F (43°C), to activate the yeast. The warm water will help the dough achieve the right consistency and promote efficient yeast activity.
Next, incorporate melted butter into the mixture to enhance the dough's texture and flavor. Use a wooden spoon or a dough hook attachment on a stand mixer to combine the ingredients until a sticky dough forms. Avoid over-mixing; you want the dough to be just combined for optimal gluten development.
Once the dough is sticky and well-mixed, transfer it onto a floured surface. Shape it into a ball by folding the edges towards the center. This will create surface tension, aiding the dough rise properly. Preheat your Air Fryer and the baking pan to provide a consistent baking environment. Before placing the dough into the baking pan, score the top with a sharp knife. Scoring allows for controlled expansion and adds an attractive design to your finished loaf.
Letting the Dough Rise
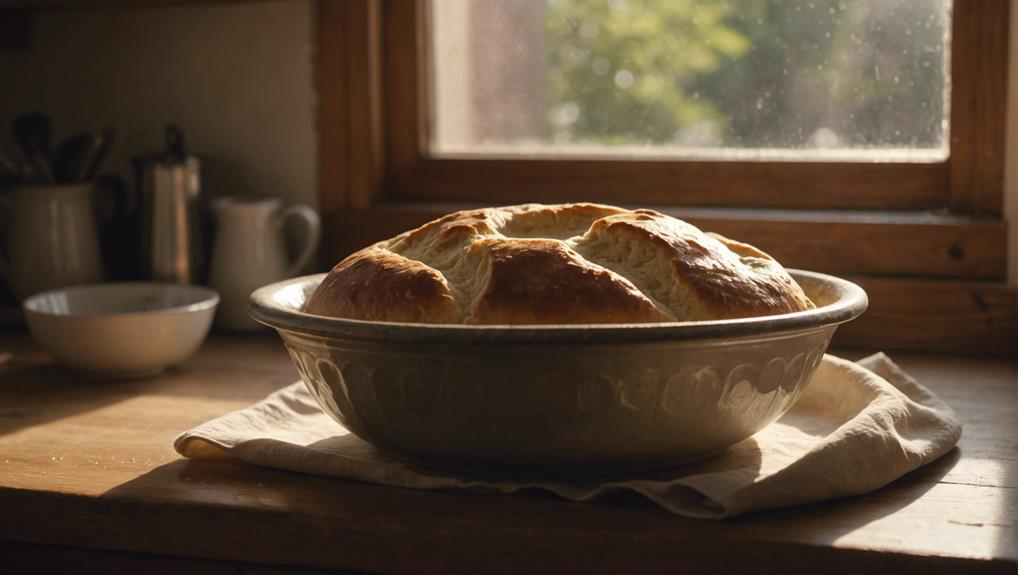
Once you've shaped the dough, place it in a warm, draft-free location and cover it with a clean kitchen towel or plastic wrap to allow it to rise until it doubles in size. This step is vital for developing the bread's texture and flavor. The warmth encourages yeast activity, causing the bread dough to expand and become airy.
Monitor the dough closely. Depending on room temperature, yeast activity, and dough consistency, the rising time can vary. Ideally, your dough should be puffy with visible air bubbles on the surface. These bubbles indicate proper fermentation, ensuring your bread will be light and fluffy once baked in the Air Fryer.
Be cautious to avoid overproofed dough, which can collapse and result in a dense loaf. To prevent this, check the dough periodically. A good test is gently pressing a floured finger into the dough; if the indentation springs back slowly, it's ready. If it doesn't spring back at all, it may be overproofed.
Preheating the Air Fryer
After the dough has risen to perfection, preheat your air fryer to 350-375°F to create an ideal baking environment. Preheating is an essential step that guarantees your air fryer reaches the ideal temperature for baking bread in an air fryer. This helps promote even cooking and a perfect crust.
First, set your air fryer to the recommended temperature range, typically between 350 and 375 degrees Fahrenheit. Many air fryer models have a preheat function; if yours doesn't, simply set the temperature and allow it to run for about 5 minutes. The preheating time is an excellent opportunity to finalize your dough preparation and shape it, ensuring it's ready to go as soon as the air fryer is hot.
For an enhanced crust, consider preheating the air fryer basket or baking pan along with the air fryer. This technique helps to kickstart the baking process, ensuring that your loaf of bread cooks thoroughly and achieves a desirable texture. By preheating the air fryer, you set the stage for successful air frying, making sure your loaf of bread emerges perfectly baked and delicious.
Shaping the Loaf
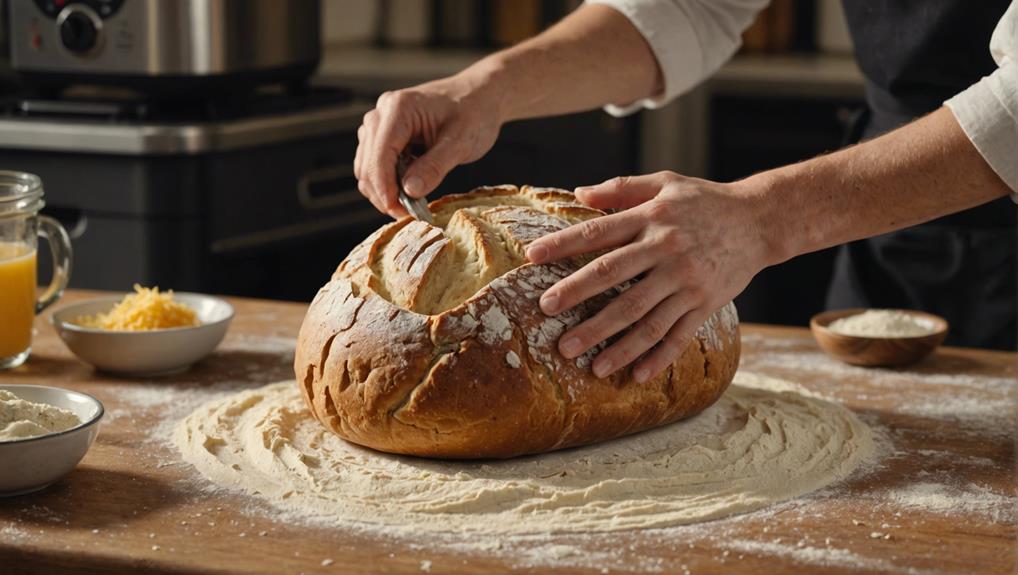
To guarantee consistent cooking in the air fryer, shape the dough into a smooth, round ball, carefully avoiding over-handling to maintain its light texture. Begin by lightly flouring your hands and work surface to prevent sticking. Gently gather the dough and start tucking the edges underneath, methodically rotating it to create a tight surface on the bottom. This technique not only ensures an even shape but also promotes a uniform crumb structure.
While shaping the loaf, be mindful not to over-handle the dough. Over-working it can lead to a tough or dense texture, which ultimately affects the bread's quality. Once you've achieved a round ball of dough with a taut surface, you're ready for the next important step: scoring.
Using a sharp knife or razor blade, score the top of the loaf with a few shallow cuts. This step is important for controlled expansion during baking, allowing the loaf to rise properly without splitting unpredictably. Proper scoring improves the loaf's aesthetics and ensures an even bake.
Baking the Bread
Preheating your air fryer and baking pan is essential for achieving an even bake and a perfectly crisp crust. Begin by setting your air fryer to 350°F and giving it a few minutes to reach the desired temperature. Meanwhile, prepare your ball of dough, ensuring it has completed its rise to attain a light, airy texture.
Place the risen dough in a lightly greased springform pan or directly into the air fryer basket if you prefer a more rustic loaf. Brushing the dough with an egg wash can enhance its appearance, giving it a beautiful, golden crust.
When ready, transfer the baking pan or basket into the preheated air fryer. Adjust your cooking times based on your specific air fryer model. Generally, a loaf will need about 20-30 minutes to bake fully. Monitoring the dough during the bake will help you achieve the best results.
Checking for Doneness
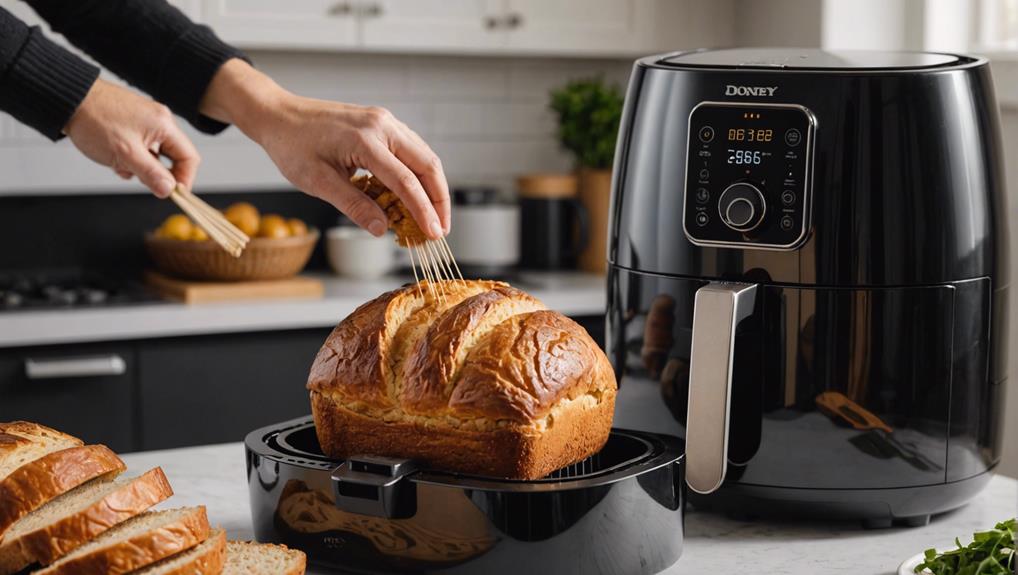
Once your bread has baked for the suggested time, it's crucial to confirm its doneness through a few key techniques. First, tap on the bottom of the loaf. If you hear a hollow sound, this is a good indication that the bread is done. Next, use a thermometer to check the internal temperature. Insert the thermometer into the center of the loaf, aiming for an internal temperature between 190-200°F. This guarantees that the bread is fully baked and safe to eat.
Visual cues are also essential. The crust should be golden brown, indicating that the heat from the air fryer has been evenly distributed. If the bread in the air fryer doesn't meet these criteria, place the pan back in the air fryer and continue to bake in short intervals to avoid overcooking.
Cooling the Bread
After removing your bread from the air fryer, immediately transfer it to a wire rack to cool completely. This essential step guarantees that the bread doesn't become soggy and allows the crust to set properly. Placing the bread on a wire rack facilitates airflow around the entire loaf, preventing condensation from forming on the bottom, which can compromise texture.
Refrain from slicing the bread while it's still hot. Allowing it to cool thoroughly is vital for the crumb structure to solidify. Cutting into the bread too soon can result in a gummy texture and uneven slices. Patience during this phase will reward you with a more cohesive and well-defined interior.
Proper cooling also directly influences the flavor profile of your bread. As it cools, the flavors meld and mature, offering a more nuanced taste experience. Once the bread has cooled completely, you can store it in an airtight container to maintain its freshness. This step is critical to prevent staling and preserve the bread's best texture and taste.
Storing and Serving
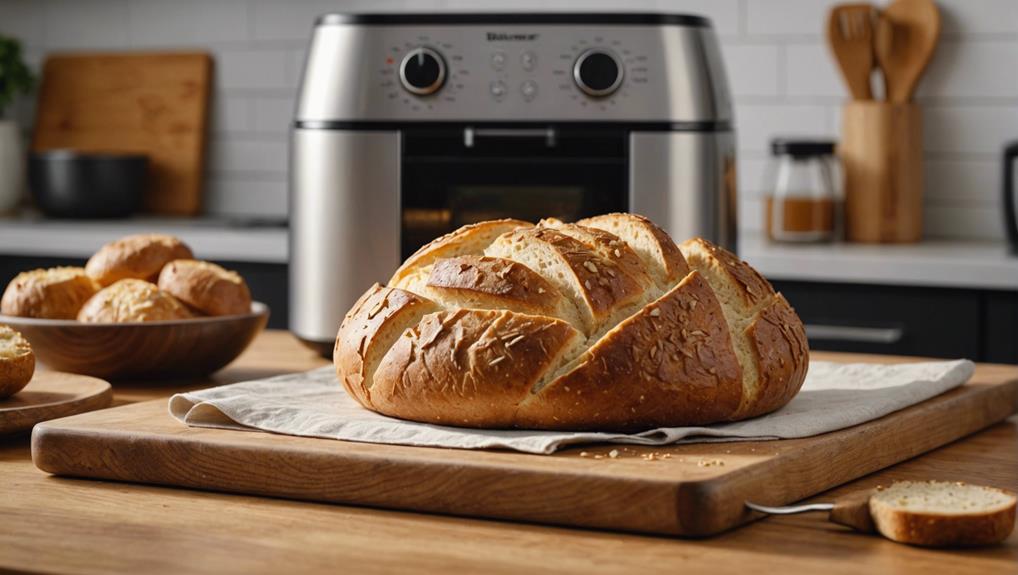
Properly storing your air fryer bread guarantees it retains its best texture and flavor. Once your loaf is freshly baked and cooled, store it in an airtight container or resealable bag at room temperature for up to 3 days. This method assures the bread remains moist and prevents it from becoming stale quickly.
For longer preservation, wrap the bread tightly in plastic wrap or aluminum foil and refrigerate it. This technique will keep your bread fresh for up to a week, though you may notice a slight change in texture. If you want to store the bread for an extended period, consider freezing it. Slice the loaf first, then place the slices in a freezer-safe bag. You can freeze them for up to 3 months. When you're ready to enjoy a slice, simply thaw as needed.
To reheat, use your air fryer to bring back the bread's original crispiness. Just a few minutes at a moderate temperature will do the trick. When it's time to serve, pair your warm slices with butter, jam, or use them for making sandwiches or toast. This assures a delightful eating experience every time.
Frequently Asked Questions
What Is the Best Air Fryer for Baking Bread?
For the best air fryer, consider one with top features like large capacity size, precise temperature control, strong brand reputation, positive user reviews, reasonable price range, useful accessory kits, energy efficiency, and a reliable warranty period.
Can I Put a Loaf Pan in the Air Fryer?
'A stitch in time saves nine! Yes, you can put a loaf pan in the air fryer. Use metal or ceramic loaf pan materials, make sure it fits your air fryer size, and preheat for best heat distribution and nonstick coating benefits.'
How to Bake in an Air Fryer?
To bake in an air fryer, preheat it for best crust texture. Make sure correct ingredient ratios and dough consistency. Use precise kneading techniques and yeast activation. Monitor baking duration, and cool on a rack. Adjust for flour types.
Can You Cook Dough in an Air Fryer?
Did you know, 85% of bakers report improved dough consistency with appropriate hydration? Yes, you can cook dough in an air fryer. Guarantee yeast activation, gluten development, and utilize expert kneading techniques for ideal dough proofing and flavor.
Conclusion
You've just crafted a delicious loaf of bread using your air fryer, showcasing its versatility. Did you know that air fryers can reduce cooking time by up to 25% compared to traditional ovens? This efficient tool not only saves time but also guarantees your bread boasts a perfectly crisp crust and soft interior. Enjoy your freshly baked bread, and remember, practice makes perfect. Keep experimenting with different ingredients and techniques to elevate your baking skills.
Disclosure: As an Amazon Associate, I earn from qualifying purchases.
