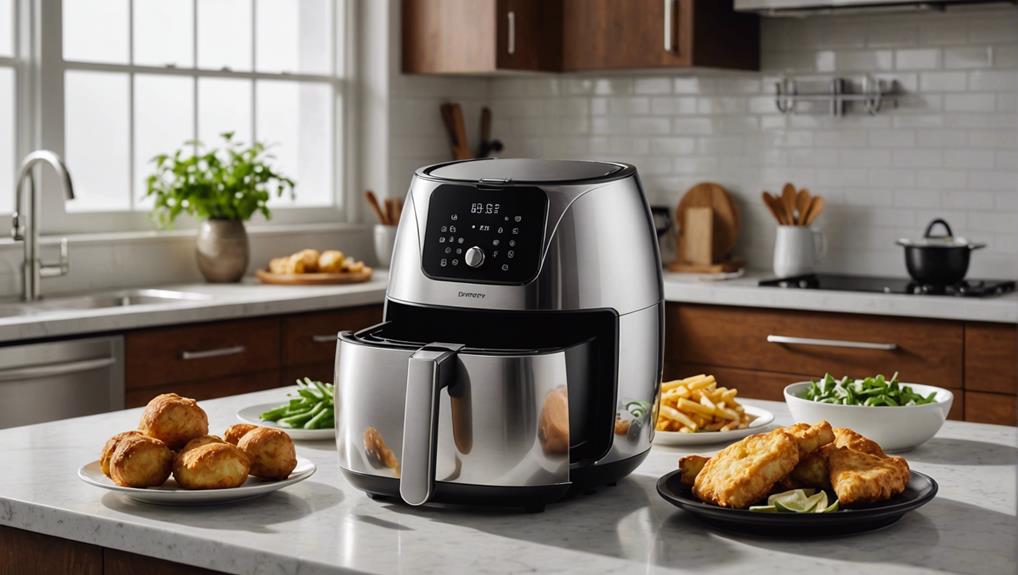
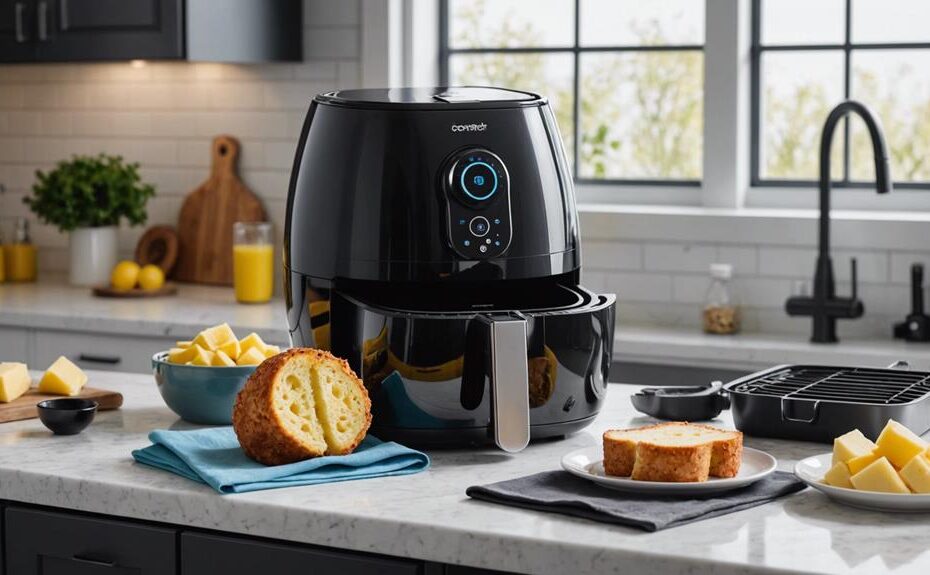
To clean your air fryer, gather non-abrasive sponges, dish soap, a soft bristle brush, microfiber cloths, and baking soda. Let the fryer cool entirely, waiting at least 30 minutes. Remove the basket and tray, soaking them in warm, soapy water. Use a non-abrasive sponge to scrub and a soft brush for crevices. Rinse thoroughly and dry the parts completely. For the interior, use a damp cloth with mild dish soap, making sure the non-stick coating remains intact. Gently wipe the exterior, focusing on control knobs. Reassemble the dried parts securely. There's more to make certain your air fryer stays in top condition.
Key Takeaways
- Ensure the air fryer is completely cool before starting the cleaning process.
- Remove the basket and tray, soak them in warm, soapy water, and scrub with a non-abrasive sponge.
- Wipe the interior with a damp cloth and mild dish soap, avoiding abrasive cleaners to protect the non-stick coating.
- Use a microfiber cloth to dry all parts thoroughly to prevent rust and mold.
- Reassemble the air fryer securely after all components are completely dry.
Gather Cleaning Supplies
To begin cleaning your air fryer, you'll need to gather essential supplies including a nonabrasive sponge, microfiber cloths, a soft bristle scrub brush, dish soap, baking soda, and hot, soapy water. These items are important for guaranteeing a thorough and safe cleaning process.
First, make sure your cleaning supplies are appropriate for the materials in your air fryer. Check the manufacturer's recommendations to avoid using anything that might damage the nonstick coating. A nonabrasive sponge is essential because it effectively removes grime without scratching the surfaces. Pair this with dish soap to break down grease and food particles. A soft bristle scrub brush can help you reach into crevices and corners that are difficult to clean with a sponge alone.
Microfiber cloths are excellent for wiping down and drying components, as they absorb moisture and leave a streak-free finish. Baking soda is useful for tackling stubborn stains and odors; you can mix it with water to form a paste for scrubbing tougher spots. Finally, hot, soapy water is important for soaking removable parts, making it easier to clean them thoroughly. By having these supplies ready, you'll ensure a more efficient and effective cleaning process.
Cool Down the Air Fryer
Make sure the air fryer has completely cooled down before you begin the cleaning process to prevent burns and accidents. After you turn off your air fryer, give it ample time to cool down. Depending on the model and usage, this might take around 30 minutes to an hour. Don't rush this step; cleaning a hot air fryer can be dangerous, and waiting ensures that all parts are safe to handle.
To check if the air fryer has cooled down, gently touch the exterior. If it's still warm, give it more time. Avoid touching the heating element or interior components until you're sure they've cooled down completely. This precaution helps you avoid burns and ensures you can clean effectively.
Allowing the air fryer to cool down also helps in preventing any cleaning solution or water from evaporating too quickly during the cleaning process. This ensures that you can thoroughly clean all areas without the cleaning agents drying up too fast. Patience here will lead to better cleaning results and a safer experience. So, always wait for your air fryer to cool down before proceeding to clean it.
Clean Removable Parts

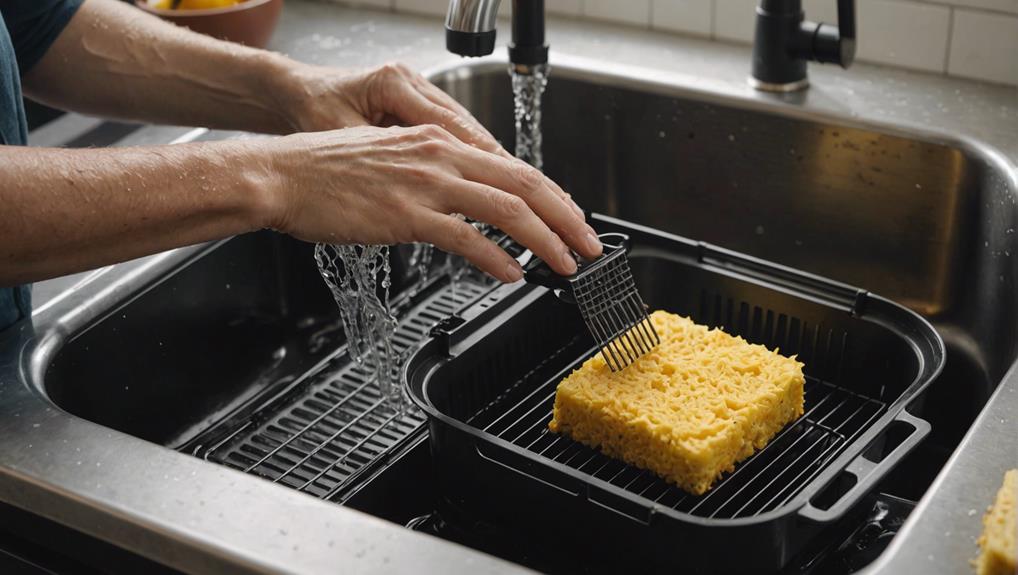
Begin by carefully removing the basket and tray from your air fryer for thorough cleaning. These removable parts are essential to maintaining the performance and hygiene of your appliance. Submerge the basket and tray in a sink filled with warm, soapy water. This step helps to loosen any grease or food particles that might be stuck to the surfaces.
Next, use a non-abrasive sponge to scrub these removable parts. Avoid using harsh scouring pads as they can damage the non-stick coating. Pay particular attention to any crevices or hard-to-reach areas where food might accumulate. It's important to make sure all residue is removed to prevent any buildup that could affect your air fryer's functionality.
Once you've scrubbed the basket and tray, rinse them thoroughly under running water to remove all soap traces. Making sure no soap residue is left will prevent any unwanted flavors or potential chemical reactions during future cooking sessions. Finally, dry the parts completely using a clean towel before reassembling them back into the air fryer. Proper drying is essential to avoid any moisture that could lead to rust or mold, ensuring your air fryer remains in excellent condition.
Wipe Interior and Exterior
Carefully wipe down the interior of the air fryer with a damp cloth and mild dish soap to remove any grease or food residue left behind after cooking. Be thorough and make sure you reach all corners and crevices where food particles might be hiding. Avoid using abrasive cleaners as they can damage the non-stick coating.
Next, focus on the exterior of the air fryer. Use a clean, damp cloth to gently wipe down the entire surface. Pay close attention to any control knobs or buttons; clean them gently to prevent any damage. It's important to avoid harsh chemicals or abrasive materials on the exterior, as these can cause scratches or other damage.
Regularly wiping both the interior and exterior will help maintain the air fryer's functionality and appearance. Additionally, make sure no moisture is left on the surface before moving on to the next cleaning steps. This practice prevents any potential electrical hazards and keeps your appliance in top condition. By following these steps, you'll extend the life of your air fryer and ensure it continues to perform efficiently.
Dry and Reassemble

Make sure all components are thoroughly dried to eliminate any risk of electrical hazards before you start reassembling the air fryer. Use a clean, dry cloth to wipe down each part meticulously. Pay special attention to crevices and edges where moisture can hide, as even a small amount of water can cause issues. You can also let the components air dry for added safety, making certain that no moisture remains. Properly drying the components also helps prevent bacterial growth, which is essential for maintaining food safety standards.
Once the components are completely dry, begin to reassemble the air fryer. Start by placing the pan and basket back into the main unit. Make certain that each part fits securely and correctly into its designated slot. Improperly assembled components can lead to malfunctions during cooking, compromising both safety and performance. Double-check that all locking mechanisms click into place and that nothing feels loose or wobbly.
After reassembling, give the entire unit a final inspection to confirm that everything is correctly in place. Now, your air fryer is ready for the next cooking session, providing you with safe and efficient operation.
Frequently Asked Questions
What Is the Easiest Way to Clean a Air Fryer?
You'll find the easiest way to clean an air fryer is to soak detachable parts in warm, soapy water. Establish a regular cleaning schedule and use safe products, like mild dish soap, to guarantee longevity.
How Do You Get Baked on Grease Out of an Air Fryer?
Wondering how to tackle baked-on grease? Combine baking soda and vinegar solution for a powerful clean. Apply the mixture, let it sit, then gently scrub using a non-abrasive sponge. Rinse thoroughly and dry completely.
Can You Clean an Air Fryer by Putting Water in It and Turning It On?
You shouldn't clean an air fryer by putting water in it and turning it on. This method can cause water damage and create an electrical hazard, making it an improper cleaning technique that risks damaging your appliance.
Should You Clean the Inside of an Air Fryer?
Absolutely, you should clean the inside of an air fryer. Think of it as keeping a well-oiled machine running smoothly. Regular interior maintenance guarantees peak performance, adheres to safety considerations, and maintains proper cleaning frequency.
Conclusion
Now that you've cleaned your air fryer, you might worry it's too much hassle. But consider this: a clean air fryer means better-tasting food and a longer-lasting appliance. By following these steps, you're ensuring that every meal is cooked in a hygienic environment. Plus, maintaining your air fryer regularly means fewer stubborn stains and less effort in the long run. So, take pride in your spotless air fryer and enjoy your delicious, healthy meals with confidence.
Disclosure: As an Amazon Associate, I earn from qualifying purchases.


